
Settings are only visible to workspace owners and admins.
Project details
Update the project’s logo, name, and description. The logo is used as the project identifier in your dashboard, the name appears in navigation, reports, and project switchers, and the description helps your team understand what the project tracks.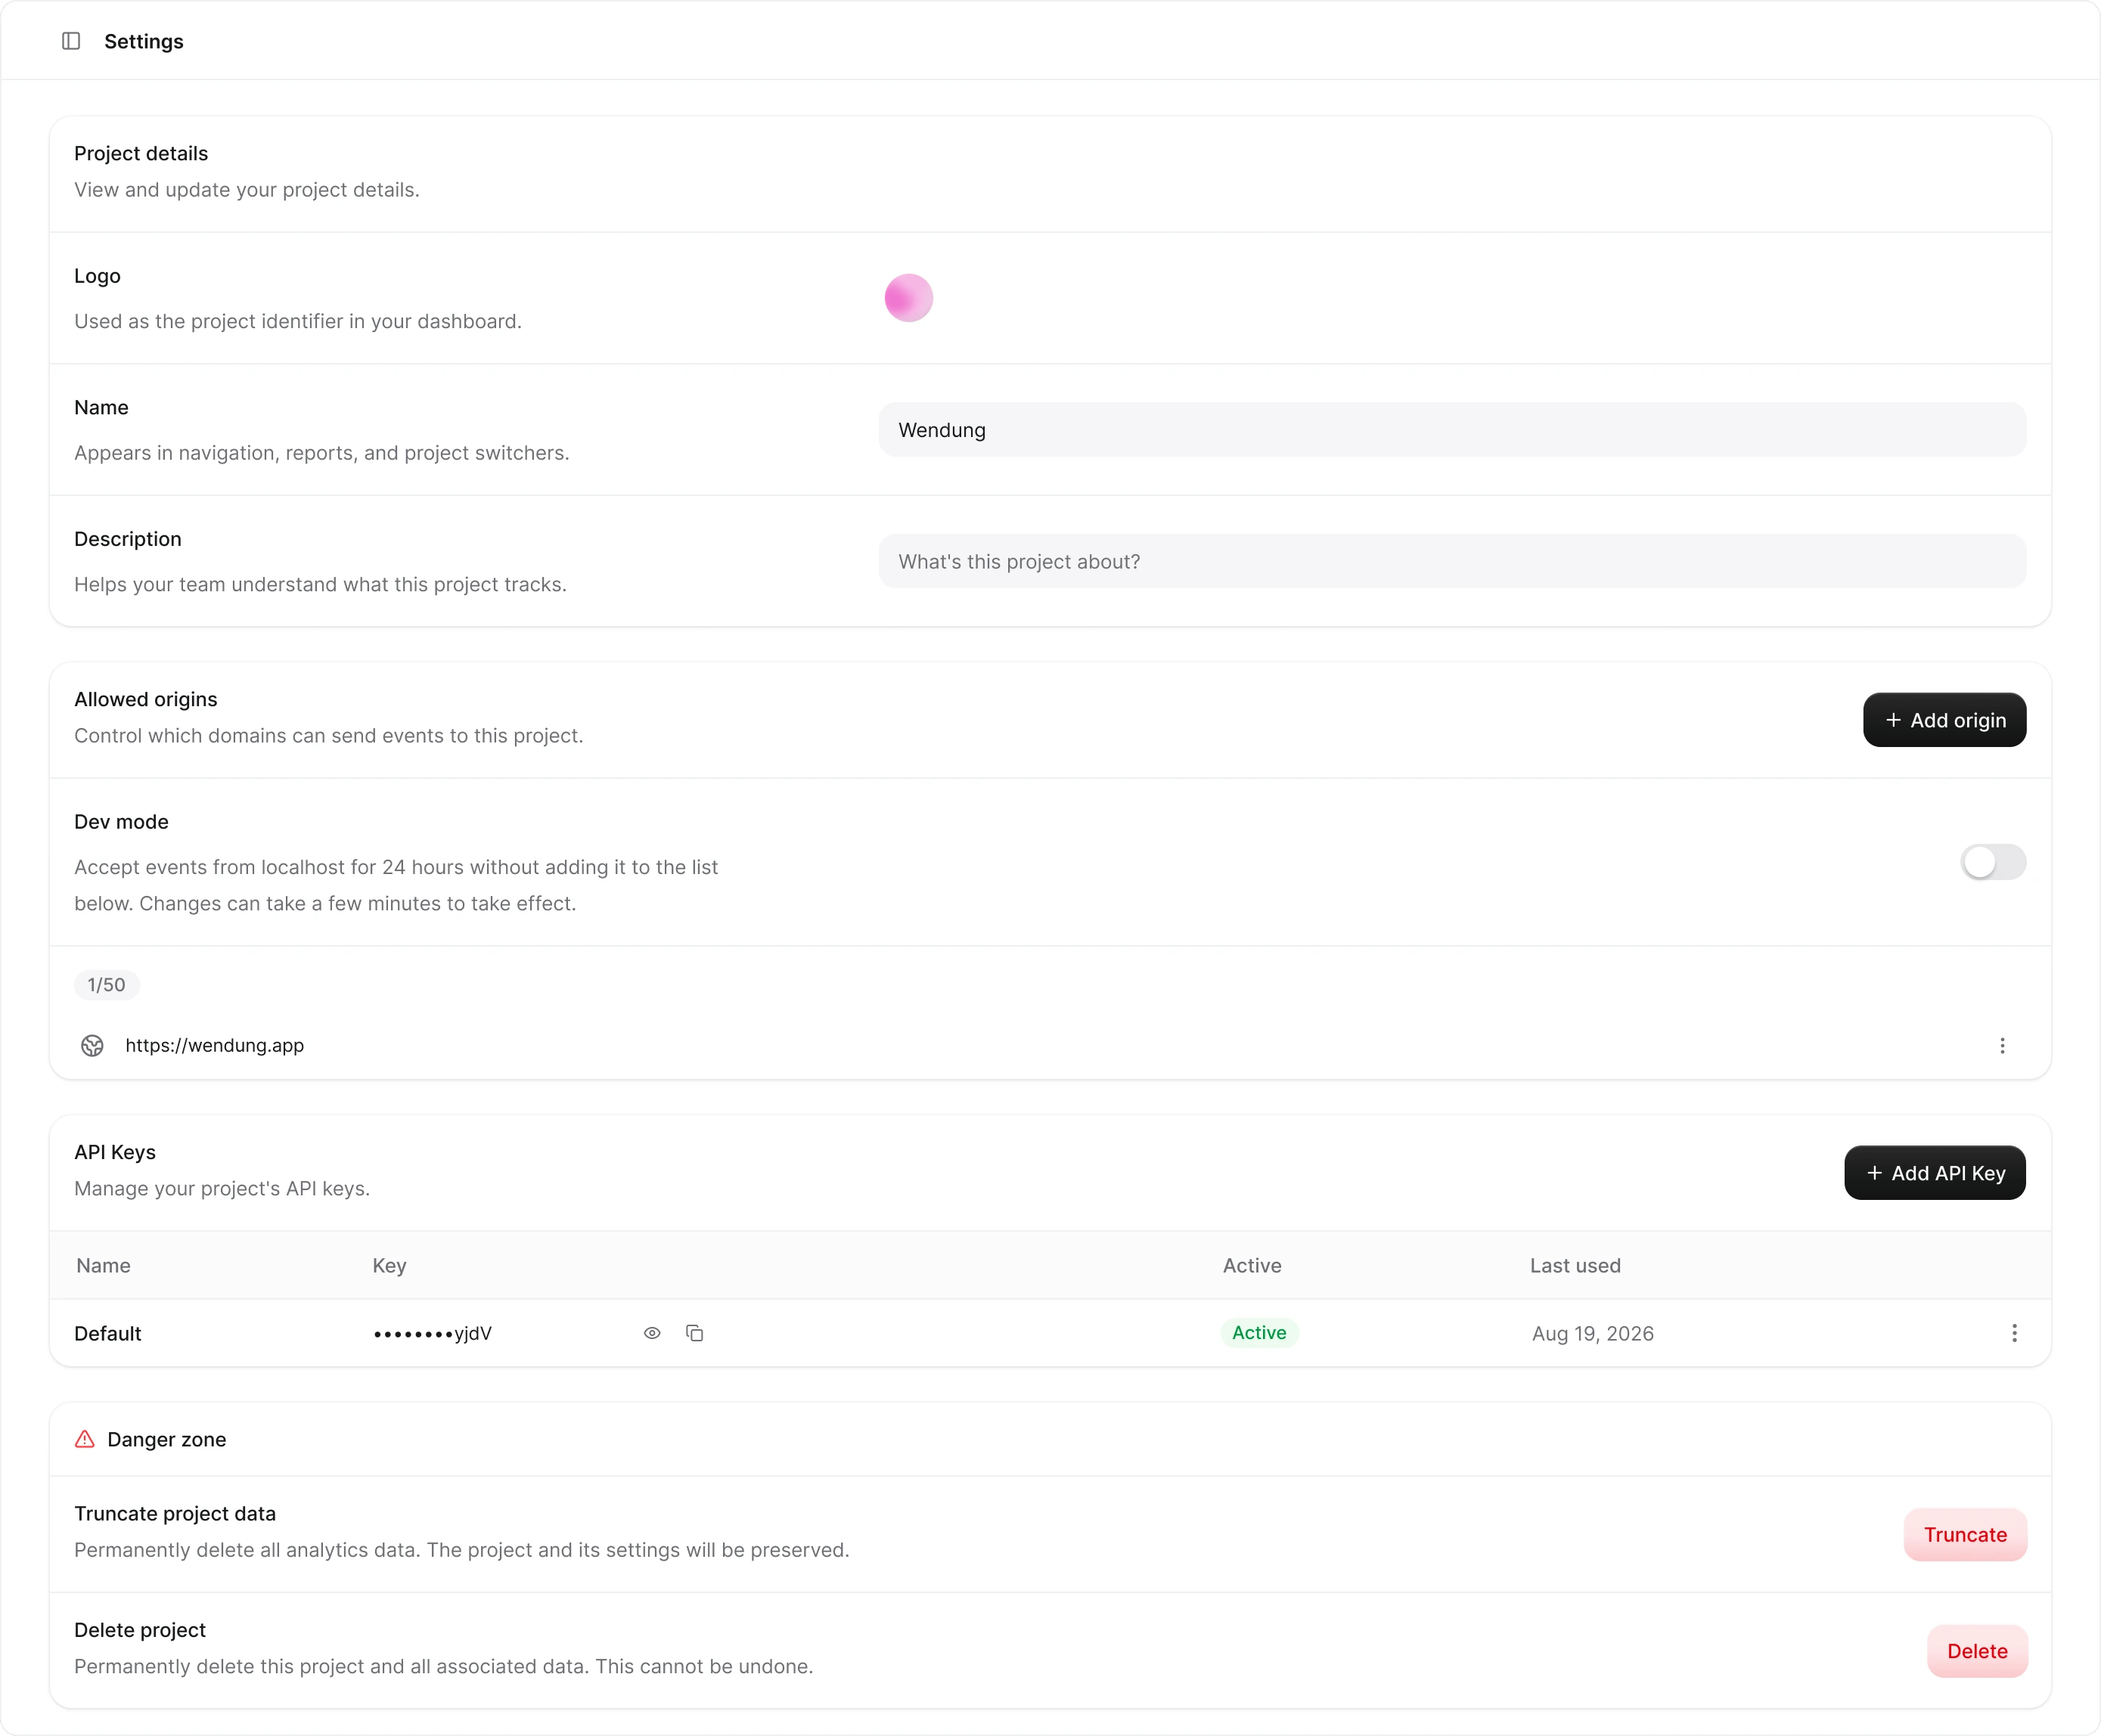
Allowed origins
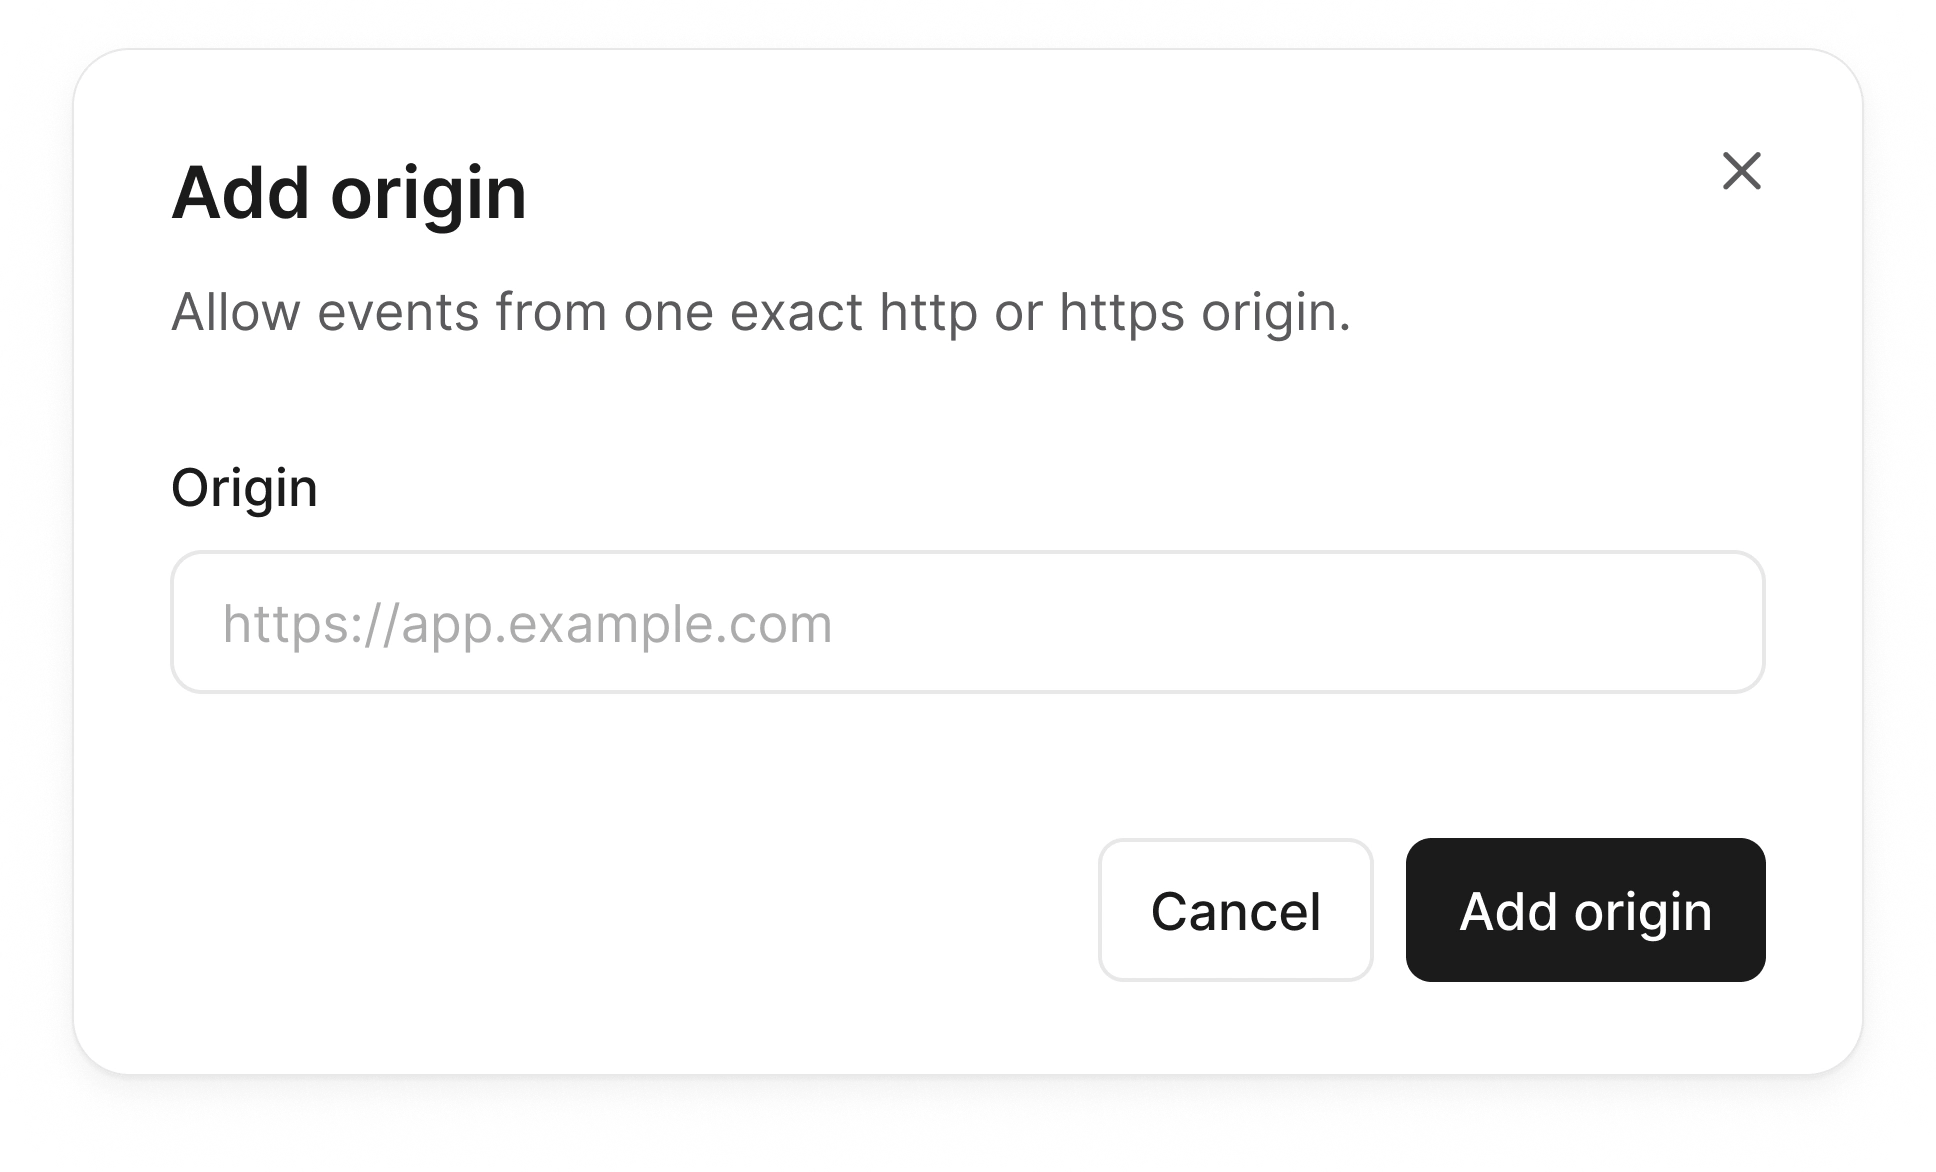
Allowed origins control which domains can send events to this project. A new project starts with an empty list and rejects every event until you add an origin. Click Add origin and enter one exact http or https origin, likehttps://app.example.com. You can add up to 50.
Dev mode
Requests fromhttp://localhost:3000 are rejected like every other origin you haven’t added. Dev mode adds a temporary exception for local addresses, so you can test without putting localhost on the list for good.
Turn it on with the Dev mode switch at the top of the Allowed origins section.

localhost, any *.localhost subdomain, 127.0.0.0/8, and [::1], on any port, over http or https.
Everything else still has to be on the allowed origins list. Private network addresses like 192.168.1.42 are not covered, so a phone on your Wi-Fi hitting your dev server is still rejected. Requests without an Origin header, such as curl or a server-side script, are always rejected.
Dev mode switches itself off 24 hours after you turn it on. Extend to 24 hours restarts the clock, and the switch turns it off immediately. While it’s on, a warning strip sits at the top of every page in the project.
Turning Dev mode on or off can take a few minutes to reach the ingest endpoint.
API keys
API keys authenticate your SDK against the project. Every project starts with a Default key, and you can create more with Add API Key, for example one key per environment.
Deleting a key immediately stops all SDKs that use it from delivering events.
Check the Last used column first: a key that was used recently is still
in production somewhere.
Danger zone
Two irreversible actions live at the bottom of the page, both behind a confirmation dialog:- Truncate project data permanently deletes all analytics data. The project and its settings, including funnels, dashboards, origins, and API keys, are preserved. Useful when you want to clear out test data before going live.
- Delete project permanently deletes the project and all associated data. You have to type the project name to confirm.